
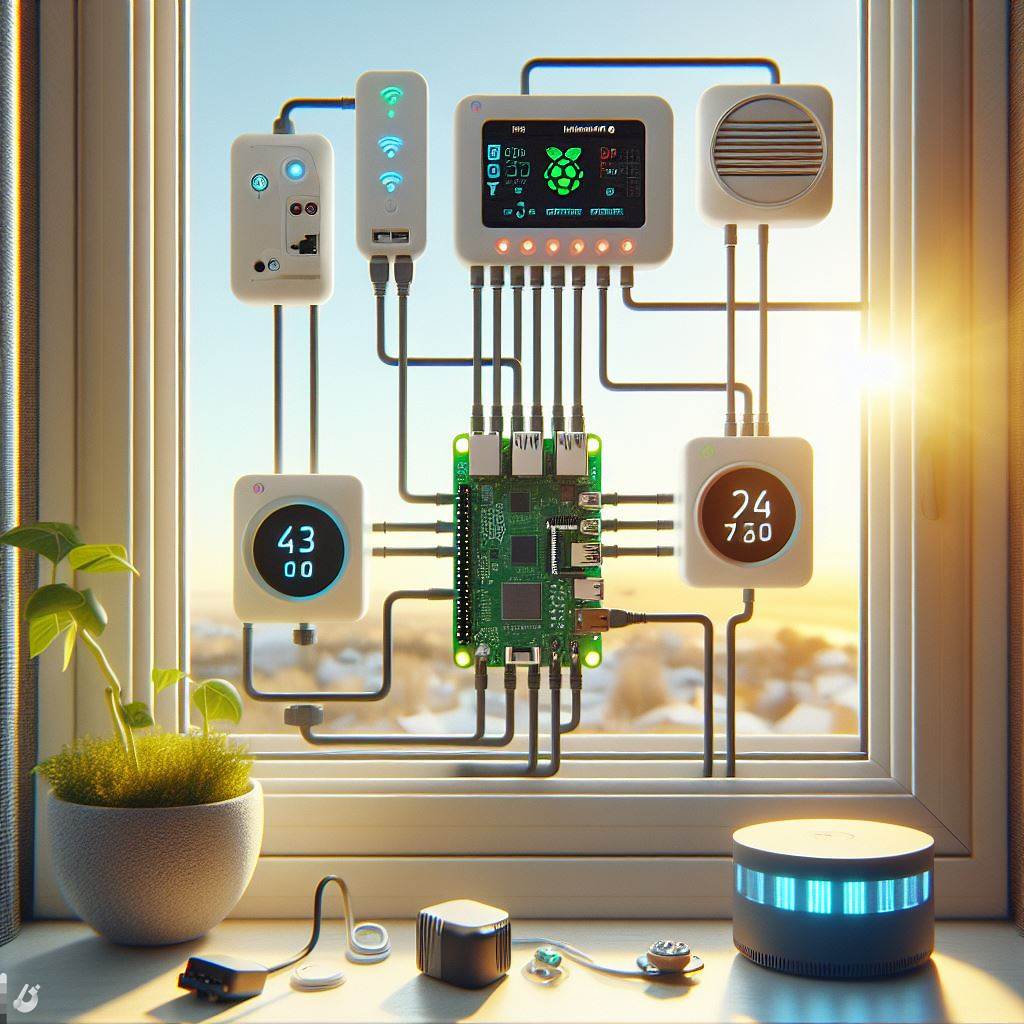
Assembling the hardware, the sensors and the displays for presentation. Artikel auch auf Deutsch verfügbar. Part 1 – instroduction In my project, I utilized various Raspberry Pi models, diverse screens, and different sensors. I will
Assembling the hardware, the sensors and the displays for presentation.
Artikel auch auf Deutsch verfügbar.
Part 1 – instroduction
In my project, I utilized various Raspberry Pi models, diverse screens, and different sensors. I will provide all the code and installation instructions for several setups here, giving you the freedom to choose different hardware before purchasing or to select setups based on the hardware you already have.
My code is designed for different rooms on various Raspberry Pi devices. Additionally, I used different sensors and either TFT or HDMI screens, employing various methods to display the information on the Raspberry Pi (such as Framebuffer screens, TFT drivers in Python, or a simple HDMI output application for temperature values). For the sake of convenience and design (my wife, being from Scandinavia, would not tolerate subpar aesthetics in the apartment!), the code generates visually appealing graphics from the collected values and presents them on different screens in a slideshow format. This is not only more visually appealing than regular console text output, but I have also created a picture folder that can display additional images in between the slideshow.
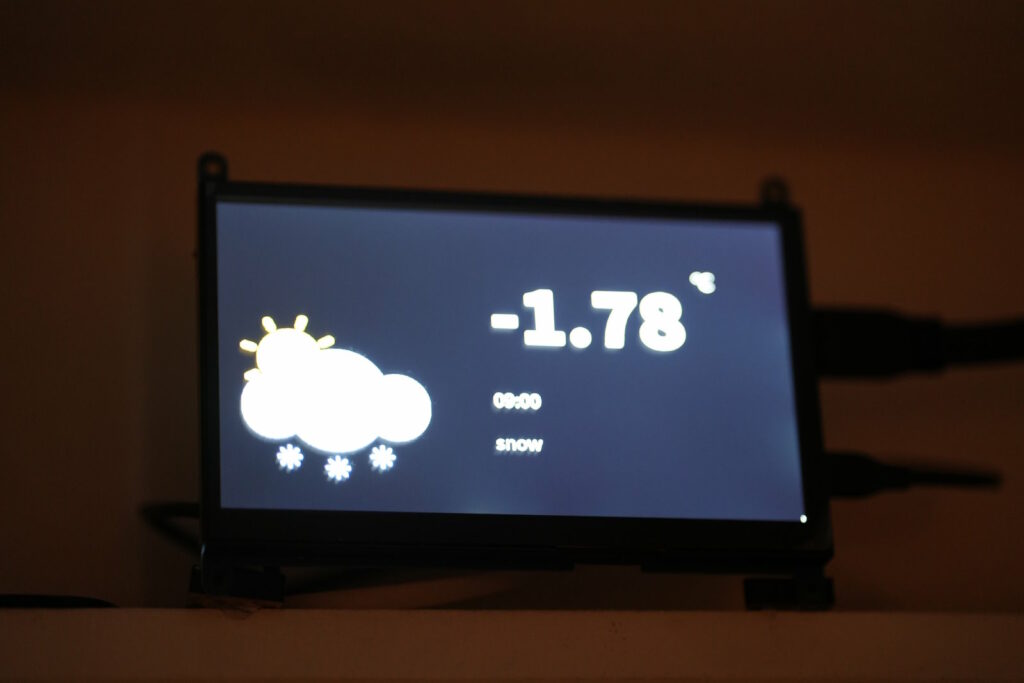
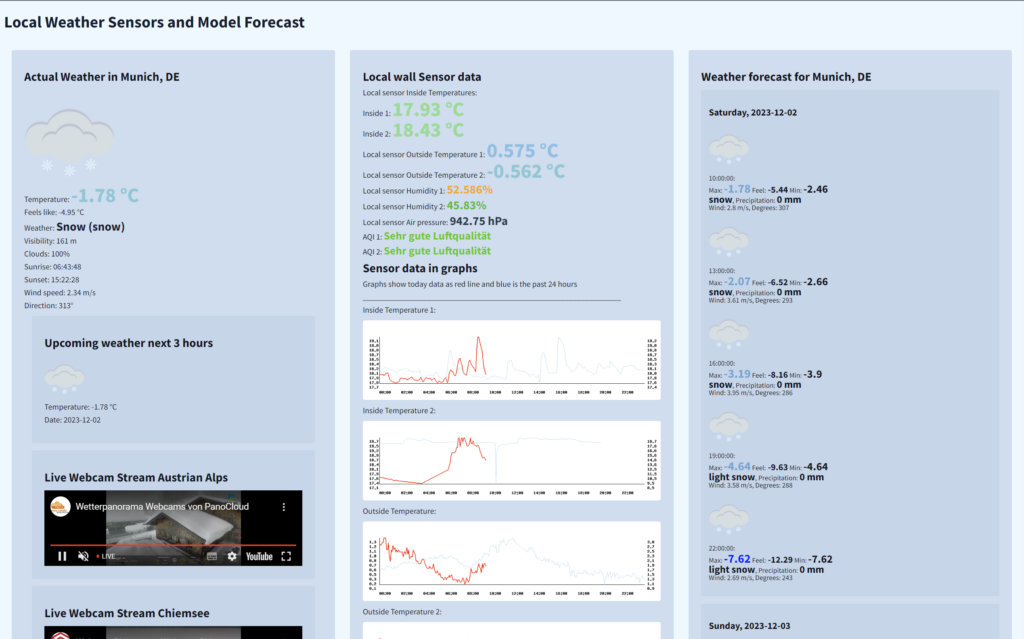
Moreover, I set up an Apache web server for a weather page, showcasing the current sensor readings in text and graphs, local weather in Munich sourced from openweathermap.org, long-term graphs for day/week/month comparisons, and the weather forecast for Munich in the coming days. The weather forecast for the next 3 hours is also displayed on the small screens connected to my Raspberry Pis. Most graphics use small icons for better visibility and design aesthetics. You are also free to use your own graphics; I will simply provide mine as samples.
Furthermore, the project can be divided into smaller modules based on your specific needs. This also facilitates incorporating parts of this project into your own projects. In my case, I am still working on the next parts, such as air purification with a filter and automatic air ventilation, but I have not had the time to include these components yet.

As someone working in IT, though not having coded for quite some time, I possess an understanding of system architecture, networking, system interoperation, databases, graphics, video, and scalability. However, I am slow in coding, and my code tends to produce errors. Since I am also an impatient person but still want to see good results in a short time, I decided to write the code with substantial assistance from AI, specifically ChatGPT from OpenAI, Bing, and my self-hosted Coding Llama setup on my home server. This approach worked quite well, with occasional setbacks, replanning, and rewrites. Please note that the code may contain errors and security vulnerabilities (like any other code on the internet). Feel free and, in fact, be encouraged to write a better version with more features. I would be pleased if you share new or improved code with me 🙂
I also utilized some parts of the project from GitHub and will acknowledge the Git and the author in my project. At this point: Thanks to the authors for making my life easier here!
Module One – Temperature and Air Sensor Readout and Storage:
In the first module, I concentrate on the hardware for reading different temperatures inside and outside, air pressure, humidity, and air quality values. These values are stored in a MySQL database for comparison, presentation, and heating control purposes. This process occurs every 5 minutes, similar to most of the other scripts. You can easily adjust the readout intervals for all the scripts according to your preferences.
Now, let’s delve into the hardware.
My temperature sensors include the Bosch BME680, Bosch BME688, DS18B20, and TO92 temperature sensors for inside and outside air measurements. Naturally, you may have different sensors, and you can always modify the code to suit your requirements. Due to occasional sensor dropouts (the DS18B20 sometimes fails overnight), I have implemented some simple “watchdog” scripts that attempt to reinitialize the w1 bus, ensuring the readout script can continue producing data for the MySQL database; otherwise, the graphs, displays, and data will cease until you restart the device.
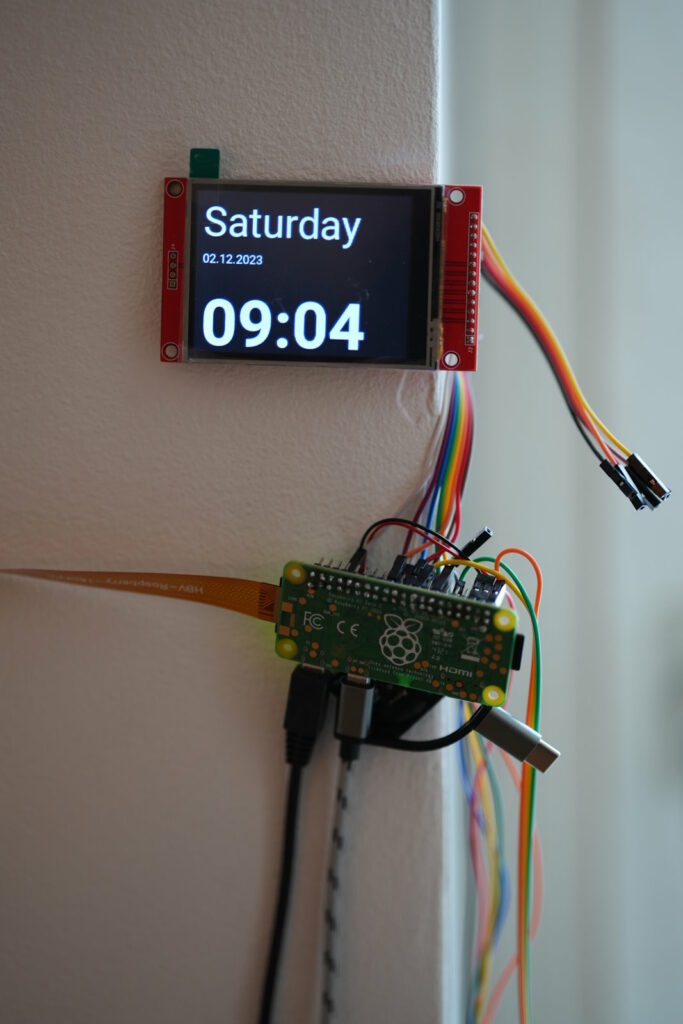
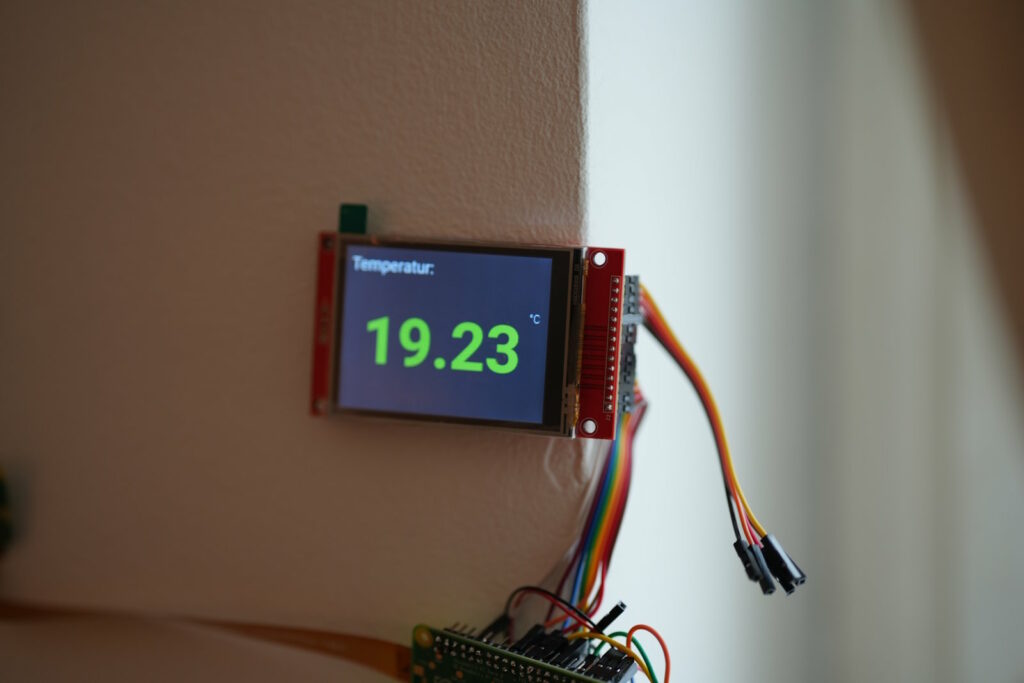
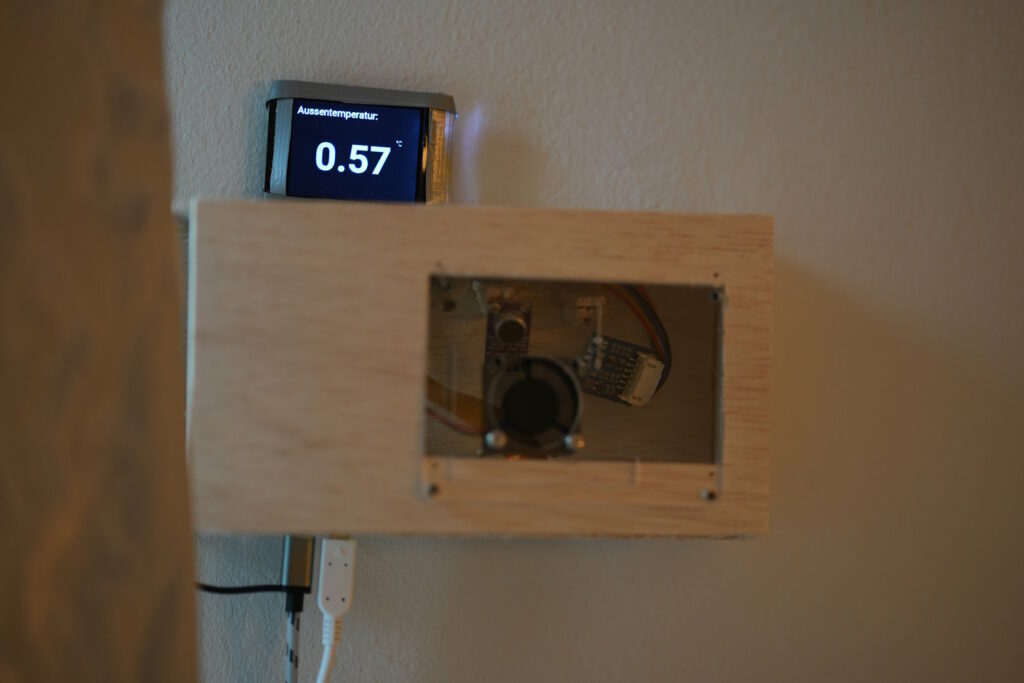
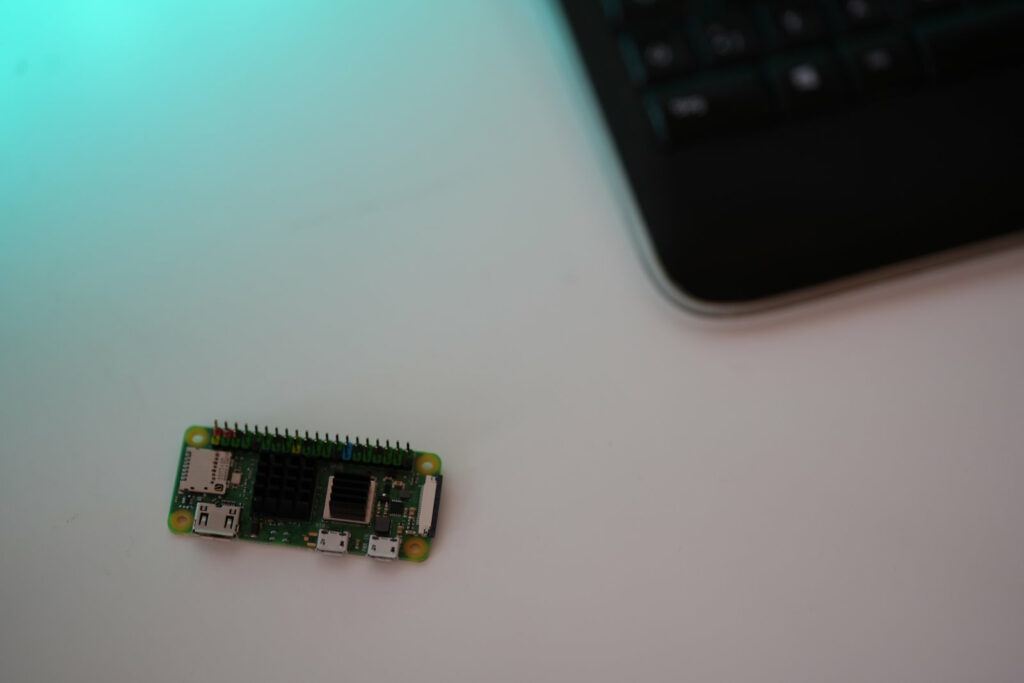
For the readout terminals, I use two Raspberry Pi Zero 2 Ws, each mounted on a wall next to a window. This setup allows the DS18B20 sensor cables to extend just outside the window. The onboard BME68x sensor is directly attached to the Raspberry Pi itself, which I’ve housed in a wooden box for now. I personally didn’t like the appearance of a 3D-printed case, but your setup may differ. This aspect is still a work in progress, and the boxes are not finalized yet, but you will get a good understanding of it.
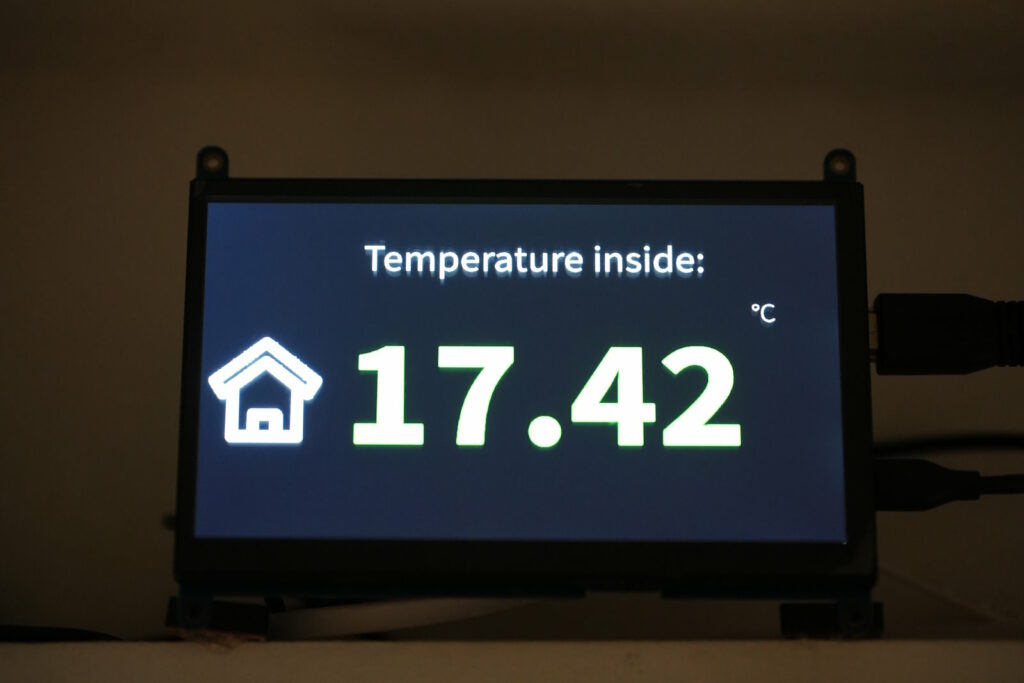
As a sort of “central hub,” I use a Raspberry Pi 4 with 4GB RAM that measures only the inside temperature, runs the MySQL database, and hosts the Apache web server. This Raspberry Pi also connects to a larger HDMI display at the entrance of the apartment to showcase current weather conditions.
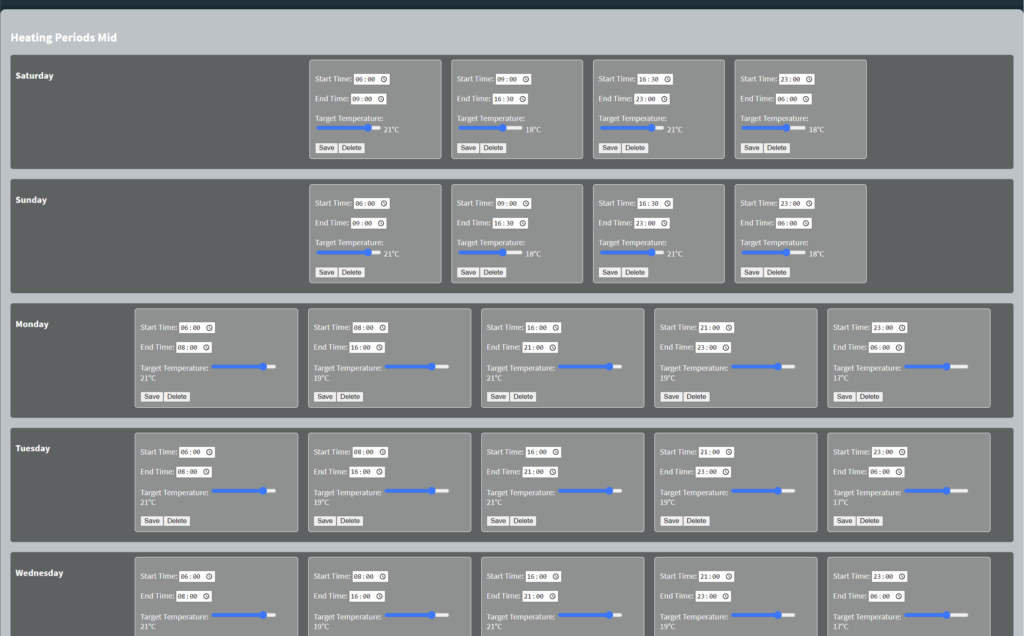
This Apache web server also includes three heating control plans that, at the moment, regulate the temperatures in my bedroom, dining room, and hallway according to a schedule I can easily set on a website. I preferred this method over dealing with three buttons on a Bluetooth heating thermostat.
One of the Raspberry Pi Zeros operates a 2-inch ST7789V display over ISP with its Python driver code, not as a framebuffer device. The presentation is handled with a Python image viewer. The other Raspberry Pi Zero runs a 2.8-inch TFT panel over ISP as a framebuffer device (essentially a system default screen via /boot/config.txt and a custom ili9341-Overlay). The larger display operates as a regular HDMI screen on the Raspberry Pi 4 with a graphical login. The image display code was written in Pygame and runs a full-screen window application from the console. All three Raspberry Pis have sensors and a display. However, it is not crucial which Raspberry Pi runs which sensor or display since the entire system is modular and features a central database on the larger Raspberry Pi. All codes store data in this database and read values for presentation purposes. Therefore, feel free to adjust your setup according to your needs and experiment with different sensors, displays, and screens as you see fit.
All displays include a dimming control plan with several stages, ensuring that the display does not shine brightly in your bedroom at night. All values and variables can be adjusted according to your preferences. Essentially, this entire system is designed with stability, usability, and durability in mind. It wasn’t solely a simple “man’s project.” For unstable sensors and services, memory leaks, high swap space usage, or other flaws, I focused heavily on optimizing the sensor readout and presentation aspects. It is also possible to remove one of the components during runtime, perform maintenance, and reintegrate it into the chain without causing the entire system to shut down or behave erratically. The same principle applies later to the heating control, which includes emergency fallback settings and periodic sanity checks.
My project download, including the code for BME68x, DS18B20, and a 2-inch TFT panel driven by ST7789V on a Raspberry Pi Zero 2 W:
4 thoughts on “Climate control system – module one – read temparatures, air pressure, humidity and show those on a TFT display or HDMI screen.”