
The most efficient way to obtain a high-quality video stream from your camera module and transmit it over a network. Artikel auch auf Deutsch verfügbar. Both the Raspberry Camera Module 2 and Module 3 can
The most efficient way to obtain a high-quality video stream from your camera module and transmit it over a network.
Artikel auch auf Deutsch verfügbar.
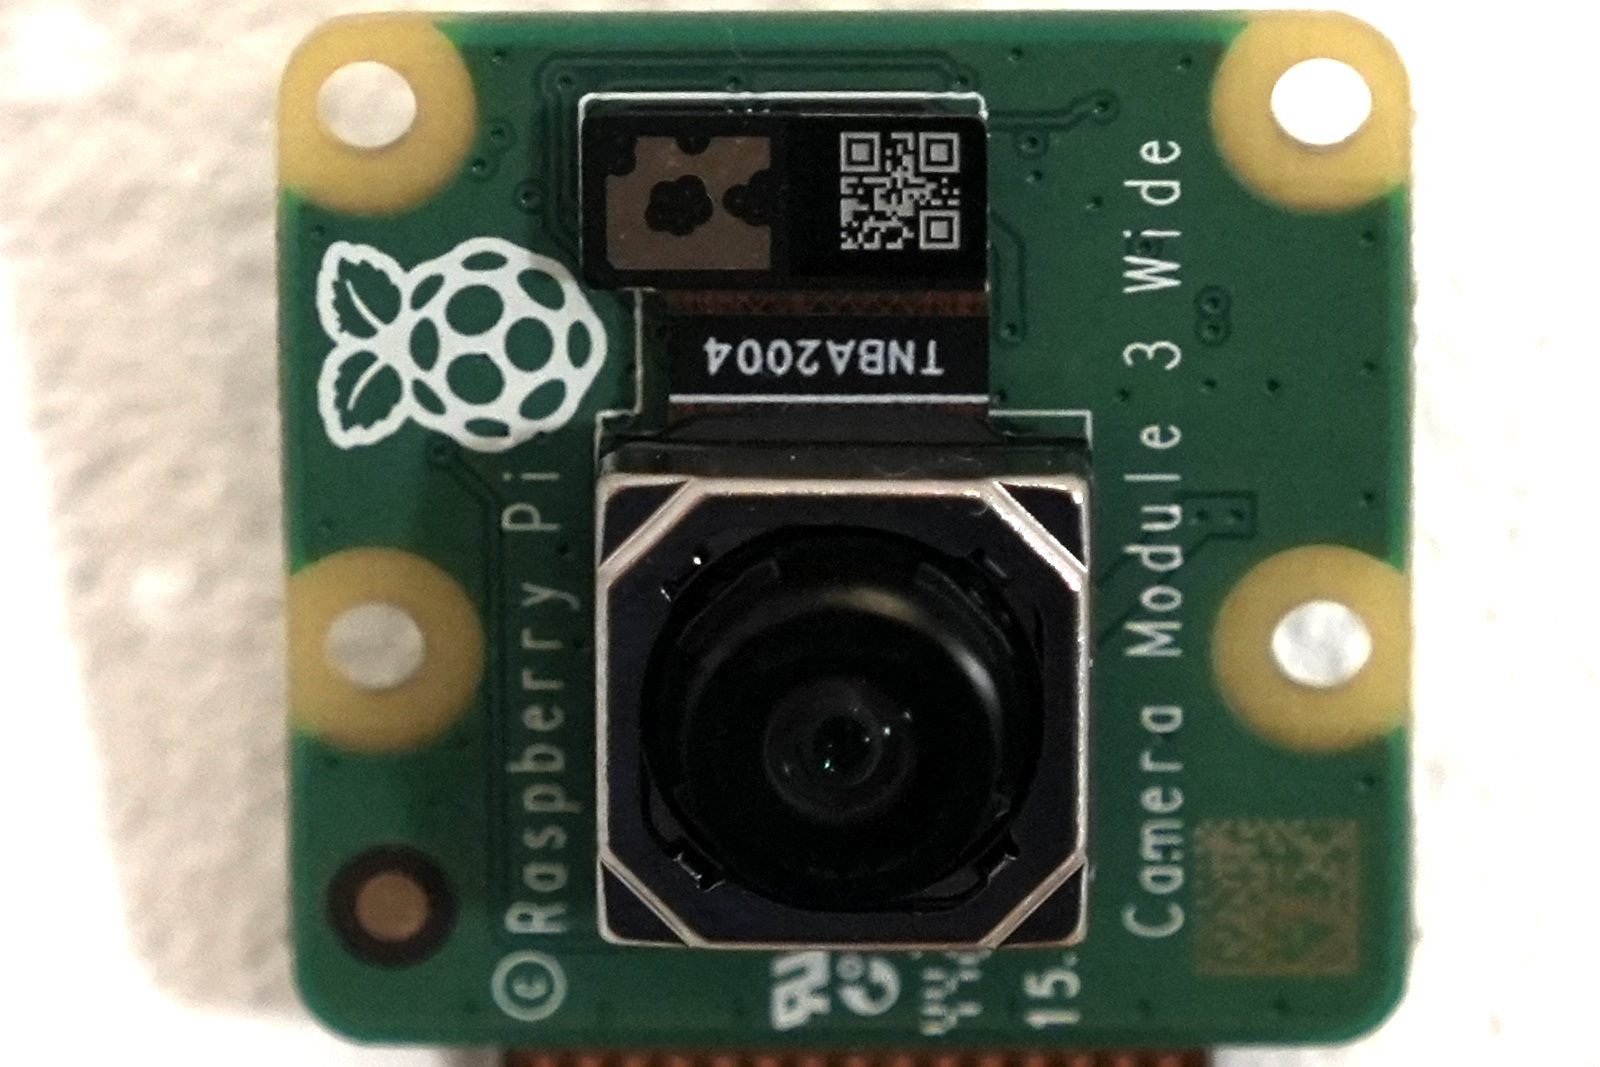
Both the Raspberry Camera Module 2 and Module 3 can already generate h264 streams directly on the camera processor. In the new Raspberry OS, based on Debian 12 Bookworm, the libcamera stack has been removed, and rpicam-vid is the application to look for when you want to access your camera module directly. For compatibility, libcamera-vid is a symbolic link to rpicam-vid.
which libcamera-vid
ll /usr/bin/libcamera-vid
lrwxrwxrwx 1 root root 10 Nov 23 16:35 /usr/bin/libcamera-vid -> rpicam-vid
What we want: Creating a high-quality h264 stream and transmit this over a network into motion or motionplus for motion detection (or any other software, storage, application, server).
Difficulties: CPU power, RAM usage, network bandwith limits, unstable WIFI signals, storage issues.
Our solution: create a high quality h264 at the source, use lower CPU usage while repacking and handling the stream, use stable server stacks and modules for network transmission, detect motion from high quality video and save storage space and do not use video encoding power in motion and motionplus, just pass the h264 through.
Just to see the capabilities of your camera sensor, install v4l-utils:
sudo apt-get install v4l-utilsAnd check your video devices on your system
v4l2-ctl --list-devicesv4l2-ctl --list-formatsNow install your rpicam-apps by typing (or libcamera-apps when on a plain Debian 12, not the Raspberry OS)
sudo apt rpicam-appsAnd create a bash script that you can run as a command
sudo nano stream.shCopy and paste the following line into stream.sh for a Raspberry Camera Module 2 (in this example without an audio source; add your own if necessary):
#!/bin/bash
rpicam-vid -t 0 --width 1920 --height 1080 --nopreview --exposure long \
 --sharpness 1.2 --contrast 1.4 --brightness 0.2 --saturation 1.0 --awb auto --denoise auto \
--rotation 0 --codec libav --libav-format flv -n --framerate 30 -b 3200000 --autofocus-mode auto \
 --inline -o "rtmp://192.168.yy.xx/pi/test"
Or this line for a Raspberry Camera Module 3 (in this example with a USB audio source; add your own if necessary):
#!/bin/bash
libcamera-vid -t 0 --width 1920 --height 1080 --hdr 0 --nopreview --exposure long --sharpness 1.2 \
--contrast 1.4 --brightness 0.2 --saturation 1.0 --awb auto --denoise auto \
--profile high --level 4.2 --codec libav --libav-audio --audio-source alsa --audio-device hw:0,0 \
--audio-channels 1 --audio-codec aac --audio-samplerate 48000 --audio-bitrate 128000 --av-sync 0 \
--libav-format flv -n --framerate 30 -b 6200000 --autofocus-mode manual --lens-position 0.5 \
--autofocus-window 0.25,0.25,0.5,0.5 --save-pts timestamp.pts --inline \
-o "rtmp://192.168.yy.xx/pi/test"
Do not forget to edit the IP address of your RTMP server. It does not matter if you use libcamera-vid or rpicam-vid, since it is the same process.
In both files, we are creating an h264 video stream with 30 frames per second, adjusting exposure, sharpness, contrast, and brightness, adding or dropping an audio source, and handing the output of the sensor over to a repackaging of the raw h264 stream into the libav framework (actually the FFmpeg framework) to integrate the raw h264 into an FLV container. This container is then streamed to a destination machine, where we most likely run motion or motionplus. Please adjust your destination IP in the script to meet your Nginx RTMP server IP, which should then pick up the stream again.
Note that I fixed the focus spot of the camera and am not using the auto-focus feature. The auto-focus gives a lot of focus-pumping when not in the best light conditions, which then triggers motion detection on motion and motionplus. So I turned it off since the aperture of the camera does not unfocus objects in the background too much.
Now we need something on the “other end” to accept our video stream and read it into an application layer. There are many RTMP servers out there, but for Linux convenience, I use Nginx with its RTMP module. Install Nginx and the RTMP module on your destination server:
sudo apt install nginx-common nginx-core libnginx-mod-rtmp Then edit your /etc/nginx/nginx.conf file:
nano /etc/nginx/nginx.confAnd add these lines at the end:
rtmp {
    server {
        listen 1935;
        timeout 60s;
        notify_method post;
        chunk_size 4096;

        application pi {
            live on;
            record off;
        }
    }
}
Restart the nginx server
sudo service nginx restartAt this point, your video stream is already passing three processing stages, where processing power is spread over three different processors. The camera sensor itself and its processor backend, the Raspberry Pi packaging the RAW h264 into an FLV container, and the destination machine with the receiving nginx server, ready for playout or pickup from motion or motionplus (which can be on the same machine or even another remote machine that picks up the video signal from nginx with the netcam_url module).
Finally, add a camera1.conf file to your /etc/motionplus config directory. Copy and paste these lines:
; /usr/local/etc/motionplus/camera1.conf
;
; This config file was generated by motionplus 0.1.1-git-20230823-1f228cd
;
; Configuration options specific to camera 1
;
;
;* Camera ;* device_name PiCam device_id 101 track_type 0 ;* ;** Source
;
netcam_url rtmp://192.168.yy.xx/pi/test
track_type 0
;
;** Image ;* width 1920 height 1080 framerate 30 ;* ;** Overlays
;
text_left PiCam_HD
text_right PiCam_HD\n%Y-%m-%d\n%T-%q
text_scale 3
;
;** Movie ;****
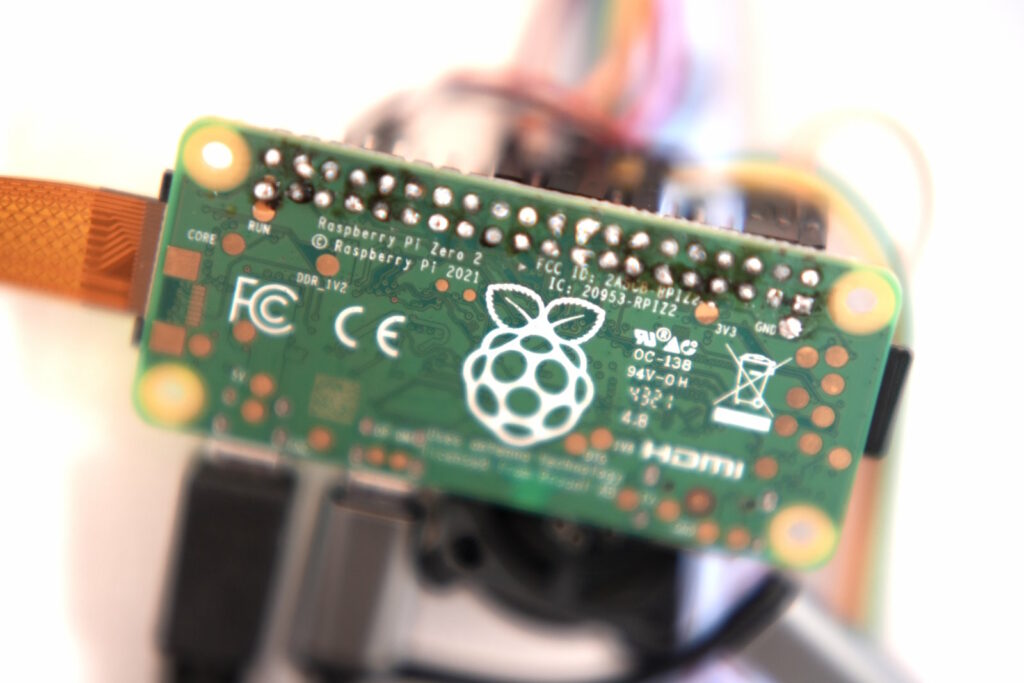
movie_filename PiCam_%t-%v-%Y_%m_%d_%H_%M_%SAnd restart your motion or motionplus instance. We are done! You now create a high-quality (well, it is still Raspberry video camera modules!) h264 raw stream, pack it into an FLV container, play it out onto an nginx RTMP streaming server, and that is picked up from your motion or motionplus instance. And all this without breaking the computing limits of any of the components. Even the tiny Raspberry Zero 2W is giggling at around 10% of CPU usage.
If something went wrong, here are some troubleshooting tips:
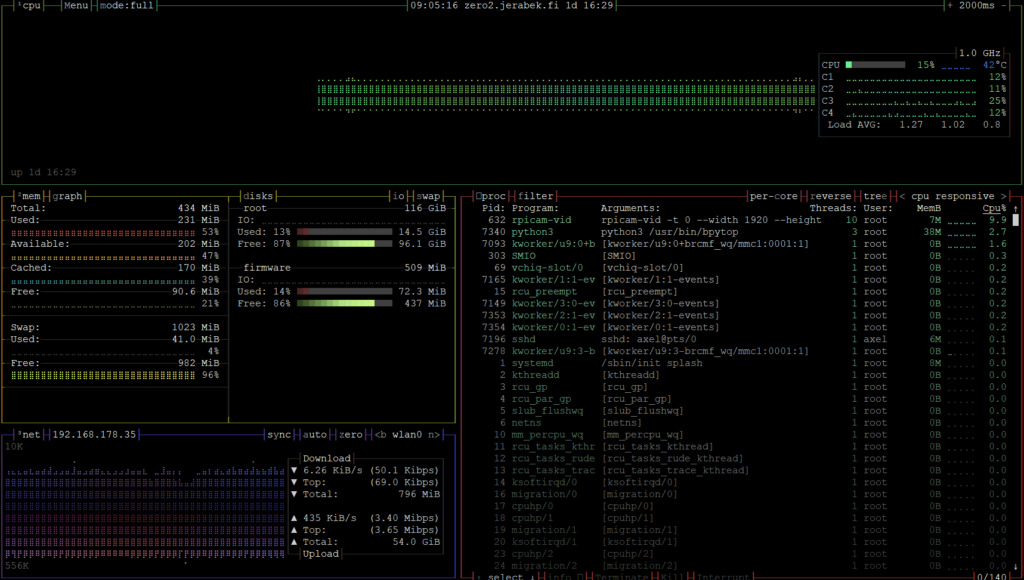
- You can at any time check where the stream is stopped. Monitor your Raspberry with htop or bpytop to see if a process with libcamera or rpicam-vid exists. If not, then try to manually execute the libcamera or rpicam-vid command with all the options. This should give you some readable error output.
- On the nginx/RTMP destination machine, you can also check network usage (i.e., with bpytop) if the machine is getting a stream. H264 is, according to the data rate that you chose in the above shell script, quite big. If network-wise nothing else is happening on the machine, you should see some network activity from the stream. If unsure, stop your stream.sh script and see the network rates going down.
From there, you can also use a video player that is able to pick up netstreams, for example, VLC and load the network stream:
rtmp://192.168.y.x/pi/testWait a few seconds (RTMP is not real-time!) and check your picture. And the final stage of troubleshooting then includes motionplus itself.
One thought on “Raspberry Pi Zero 2W, Debian Bookworm and libcamera (module 2 & 3) streaming”