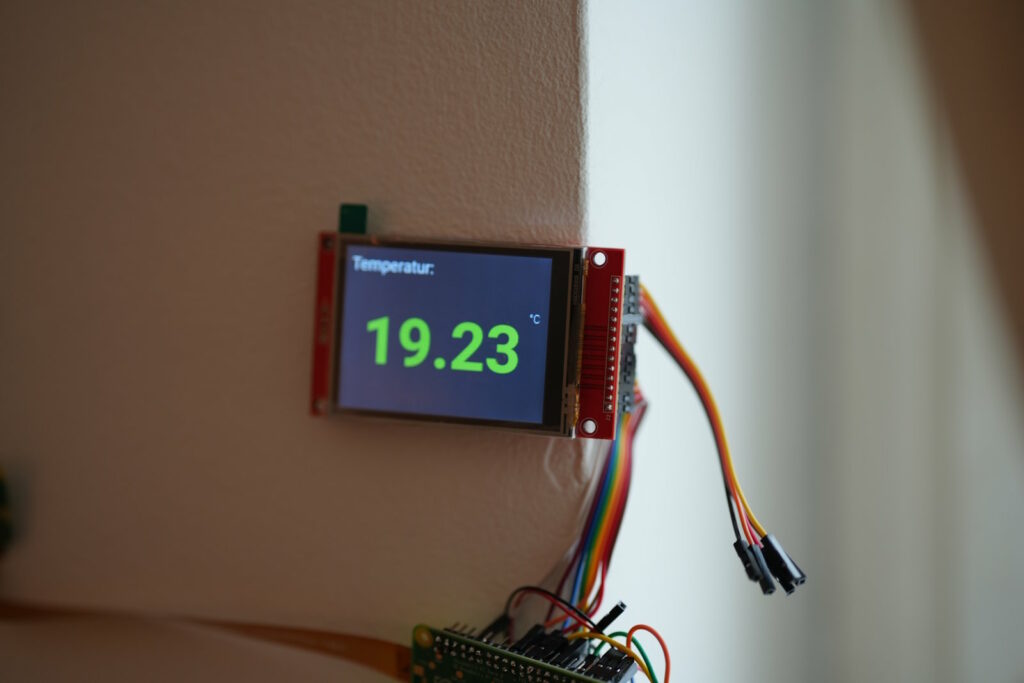
In recent years, the method for integrating SPI-based TFT displays like the ILI9341 into Raspberry Pi systems has evolved. Previously, custom kernel modules and manual configurations were often required to get these displays operational. However,
In recent years, the method for integrating SPI-based TFT displays like the ILI9341 into Raspberry Pi systems has evolved. Previously, custom kernel modules and manual configurations were often required to get these displays operational. However, with the latest Raspberry Pi OS versions and the Device Tree Overlay mechanism, the process has been significantly simplified.
The wiring from an earlier article remains valid. The article on the old control method for the ILI9341 display can be read here.
Current Method for Integrating the ILI9341 Display:
Enabling the SPI Interface: Ensure that the SPI interface on your Raspberry Pi is activated. This can be done using the raspi-config tool:
sudo raspi-config
Navigate to Interfacing Options > SPI and enable the interface.
Modifying the /boot/config.txt File: Open the /boot/config.txt file with a text editor:
sudo nano /boot/config.txt
Alternatively, if your system uses /boot/firmware/config.txt, open it with:
sudo nano /boot/firmware/config.txt
At the end of the file, add the following line to configure the ILI9341 display as a framebuffer device:
dtoverlay=fbtft,spi0-0,ili9341,rotate=270,speed=16000000,dc_pin=25,reset_pin=22,led_pin=24,framebuffer_width=320,framebuffer_height=240
Save the file and exit the editor. Reboot your Raspberry Pi to apply the changes.
After rebooting, the ILI9341 display should be recognized as a framebuffer device and be operational. You can check this with:
ls /dev/fb*
There should be an fb0 and an fb1 device.
Note: Ensure that the display is wired correctly, matching the GPIO pins specified in the configuration.
Explanation of Parameters:
- dtoverlay=fbtft: This loads the overlay for the fbtft (Framebuffer driver for TFT displays), which is required to address a TFT display through the framebuffer system.
- spi0-0: Specifies that SPI bus 0, channel 0 is used for communication with the display.
- ili9341: The ILI9341 is the controller for the display, specified here to inform the system about the type of display in use.
- rotate=270: Indicates that the display should be rotated 270 degrees to correctly orient the image (useful when the display is used in portrait mode).
- speed=16000000: Sets the SPI communication speed to 16 MHz, controlling the data transfer rate between the Raspberry Pi and the display.
- dc_pin=25: Pin 25 is used as the Data/Command pin for the display, allowing the system to distinguish between data and control commands.
- reset_pin=22: Pin 22 is used to reset the display.
- led_pin=24: Pin 24 controls the backlight of the display.
- framebuffer_width=320: Sets the framebuffer width to 320 pixels, matching the display.
- framebuffer_height=240: Sets the framebuffer height to 240 pixels, also matching the display.
- Configuring Kernel Parameters:
To direct the console output to the display, edit the file/boot/cmdline.txt:
sudo nano /boot/cmdline.txt
or
sudo nano /boot/firmware/cmdline.txt
Add the following parameters at the end of the existing line (do not create a new line):
fbcon=map:10 fbcon=font:VGA8x8
This instructs the system to mirror the console to the newly added framebuffer device and use a readable font.
Setting up the graphical interface (optional):
If you want to display the graphical user interface (X11) on the ILI9341 display, create a new configuration file:
sudo nano /etc/X11/xorg.conf.d/99-fbdev.conf
Add the following content:
Section "Device"
    Identifier "FBDEV"
    Driver "fbdev"
    Option "fbdev" "/dev/fb1"
EndSection
Section "Screen"
    Identifier "Default Screen"
    Device "FBDEV"
EndSection
This tells the X11 system to use the framebuffer device /dev/fb1 for display.
Reboot:
Restart the system to apply the changes:
sudo reboot


